
A long time ago, almost 10 years ago from when this project started, I created a bridge in our woods for hiking. This was part of the main trail my family and I would hike on and got plenty of traction when my friends and I would play paintball and airsoft in middle school. Since then, the original bridge has begun to rot away. After walking across the original bridge during my lunch break I realized how shakey and unsafe it was. I decided that the bridge needed to be re-made.
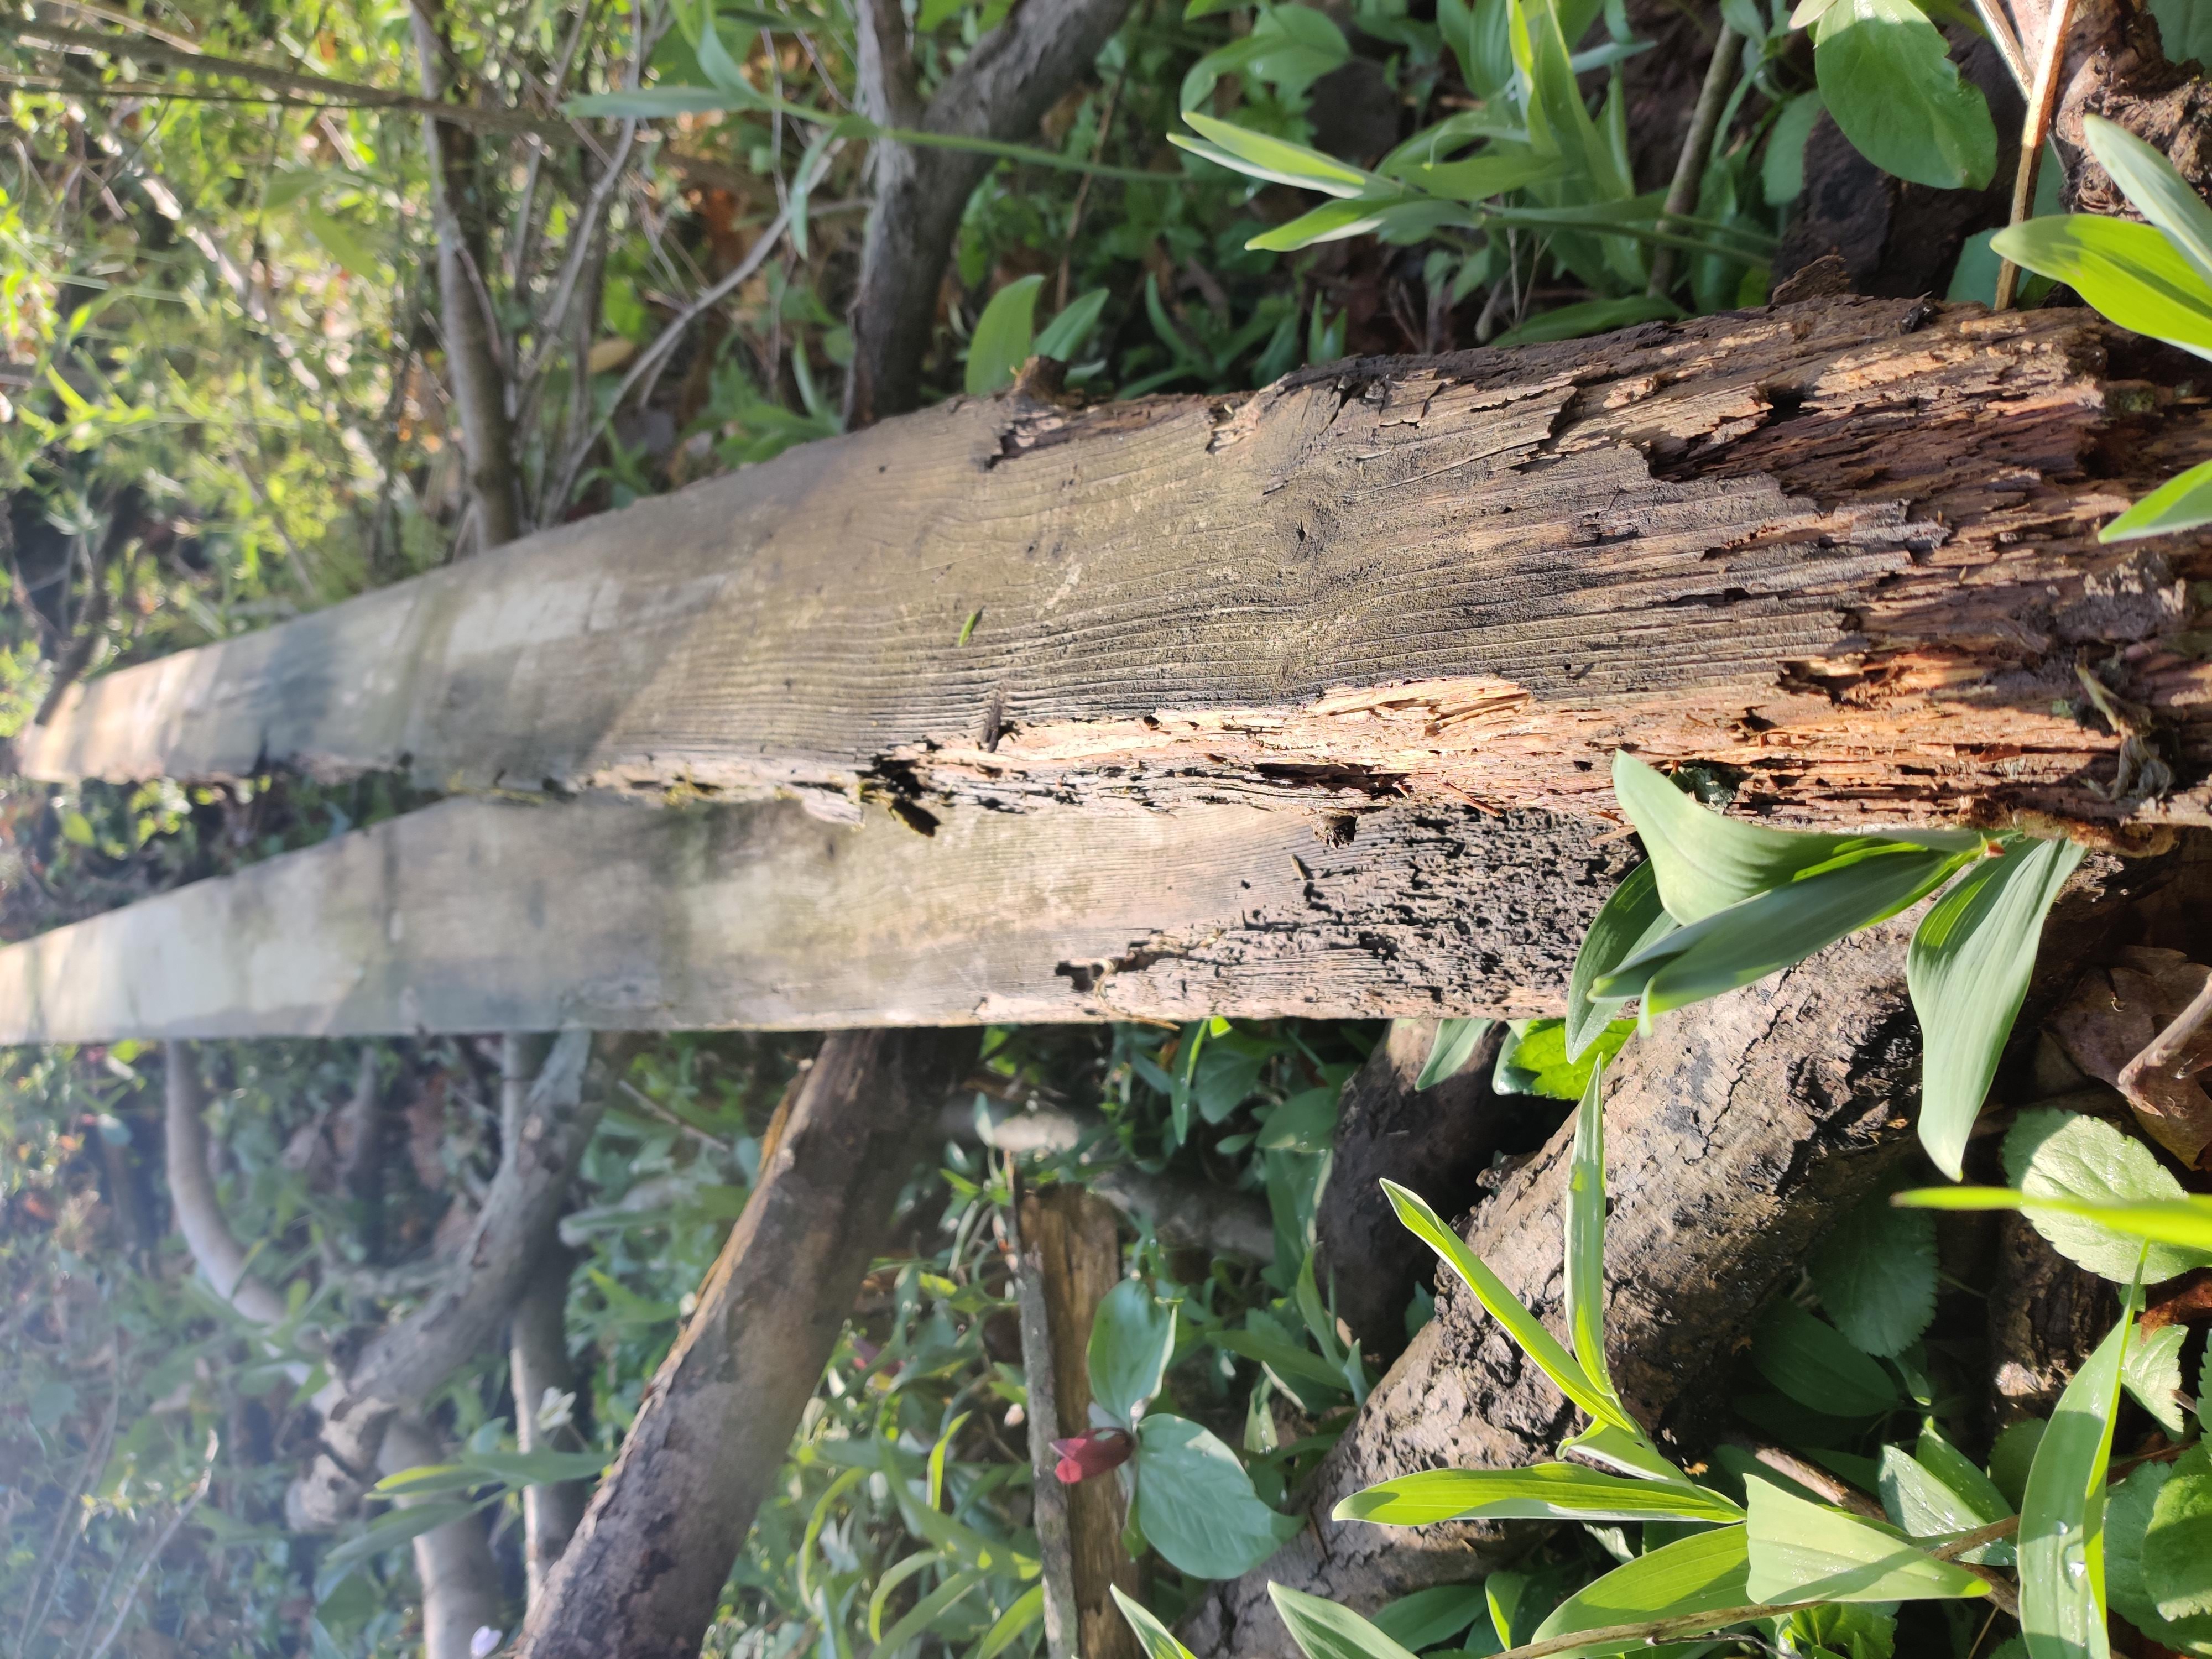
Old Support Beams
Sadly, I forgot to take pictures of the original bridge. However, in the image above you can see how rotten the two main support beams were. I completely tore apart the previous bridge but saved some of the pressure-treated lumber for planks on the new bridge. For the new bridge, I decided to use galvanized metal framing studs. The studs I used are primarily used in industrial construction for framing walls. We just happened to have about 20 of these galvanized metal studs in a scrap pile.
These studs were 8 feet long which was an issue since the previous bridge was 12 feet long. To fix this, I used a total of six galvanized studs. Each support beam uses two of the studs staggered apart to span 12 feet. The support beams are held together with three quarter-inch bolts every three feet.
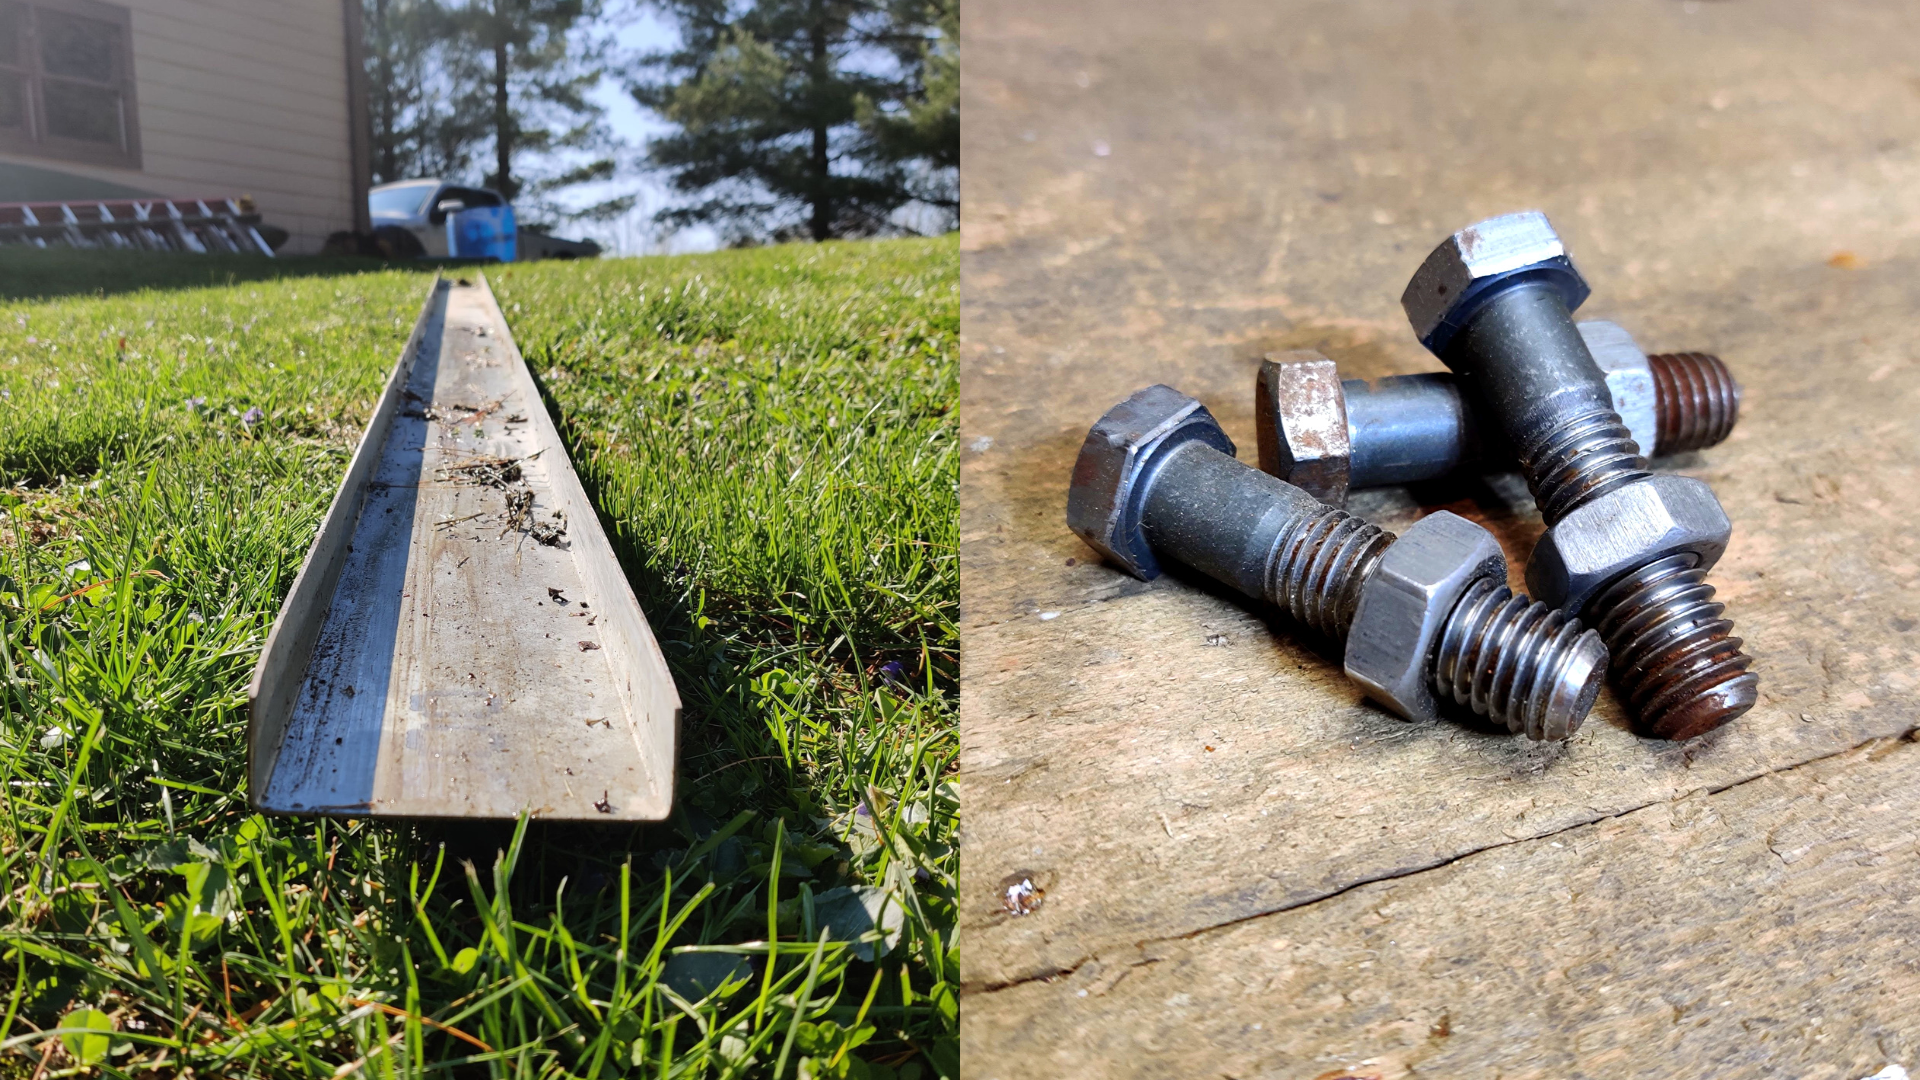
Metal Stud & Bolts Used
I decided to make three of these support beams, two on the outside and one in the middle. This will ensure the bridge is extremely stable and will hold up to any smaller branches or limbs that fall on it.
Once I had completed creating all three support beams, I realized that they will need a proper foundation to sit on or they will sink into the ground after some time. To make the foundation, I used a total of four cinder blocks with two on each side. I proceeded with leveling the cinder blocks and made sure they were at the same height on each side. After I had done this, I used metal fence posts to hold the blocks in place to keep them from moving with erosion. These metal fence posts are four feet long and I drove three down for both sides of the foundation.
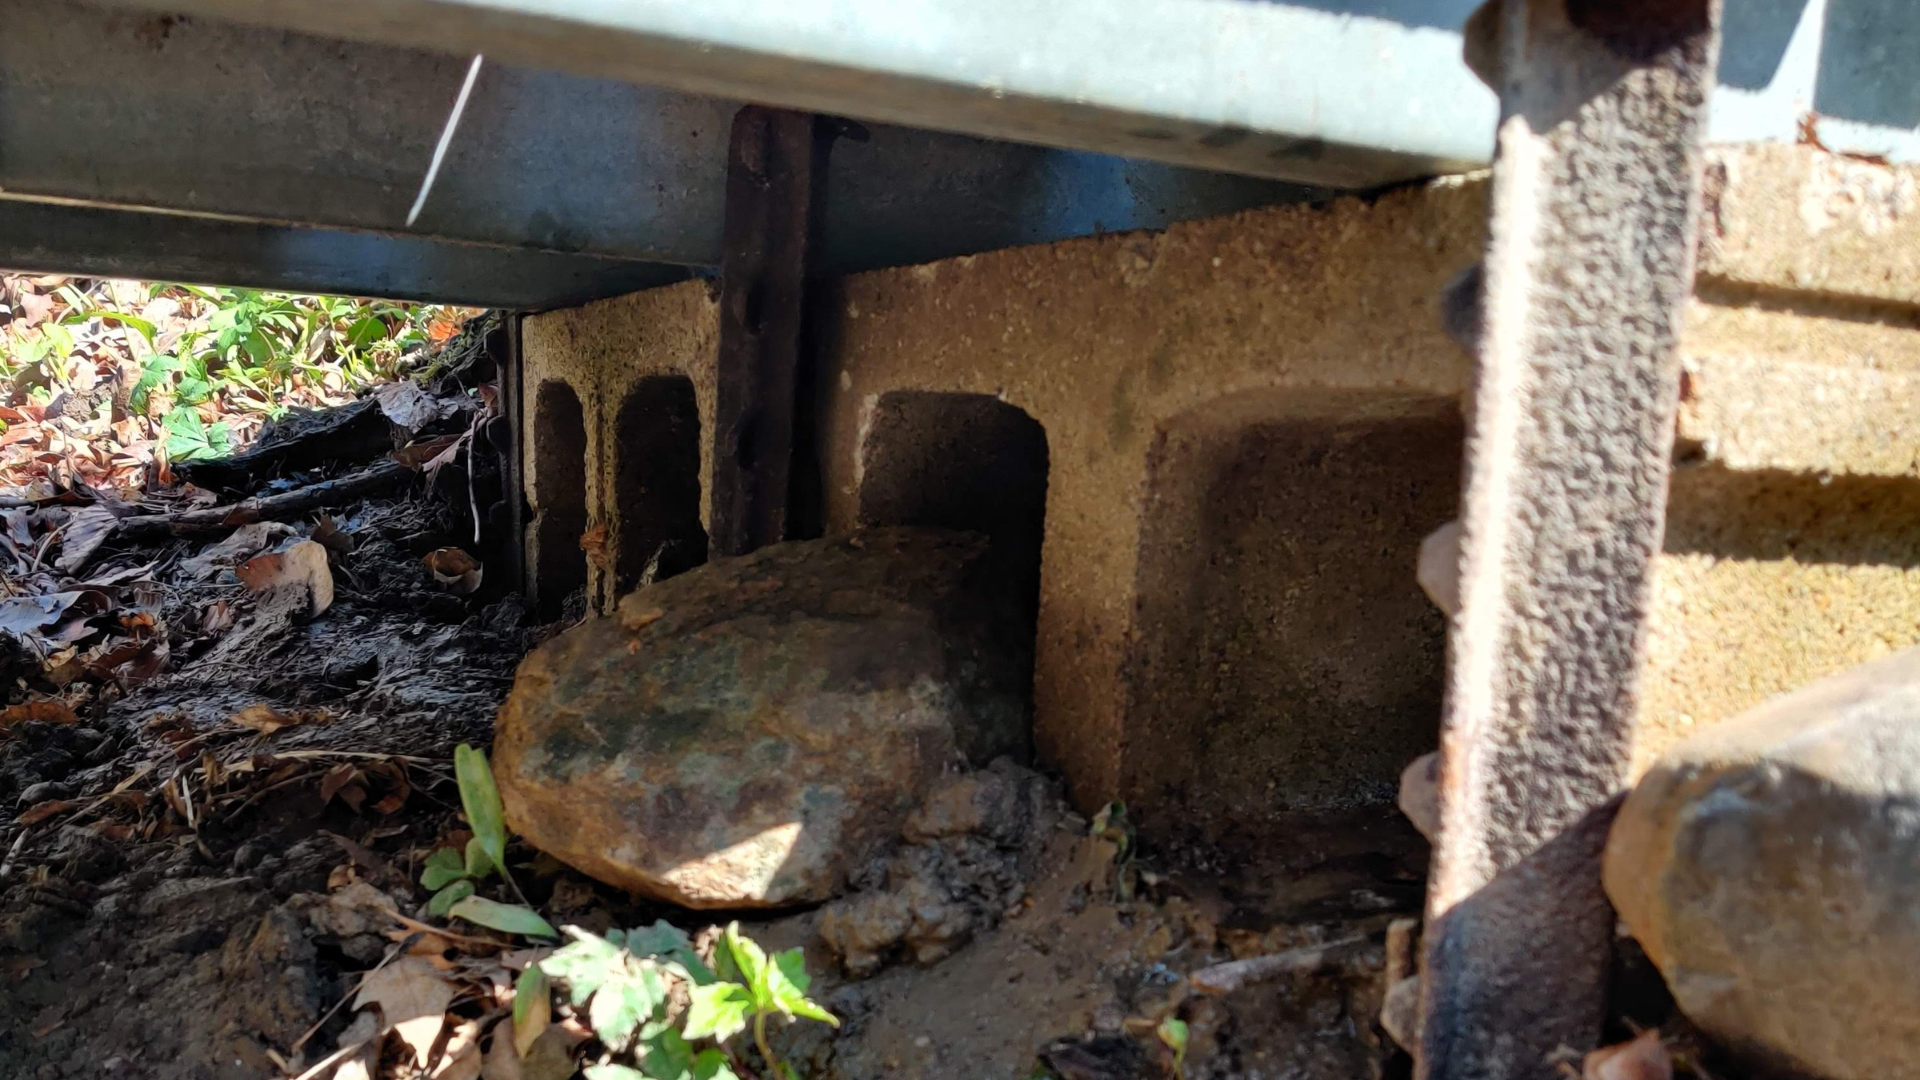
Bridge Foundation
I would have liked to attach the bridge to these metal fence posts. However, I decided not to because there is an extremely low risk of flooding and no risk of an updraft at this low of an elevation to affect the bridge.
Once I had finished the foundation, I began cutting the planks that would go across the bridge. I used three of the pressure-treated board from the previous bridge. I made sure these boards were in good condition before doing this. These boards only reached about halfway across the new bridge so we purchased three more pressure-treated boards. Once I cut all of the boards I moved everything down to the foundation and beams.
At this point, all three support beams were resting on the foundation and were ready to be drilled into. I went through the tedious process of pre-drilling six holes on each board and metal beams. Once I drilled all the holes, I could screw the planks into the metal. I repeated this process for every plank until I reached the other side.
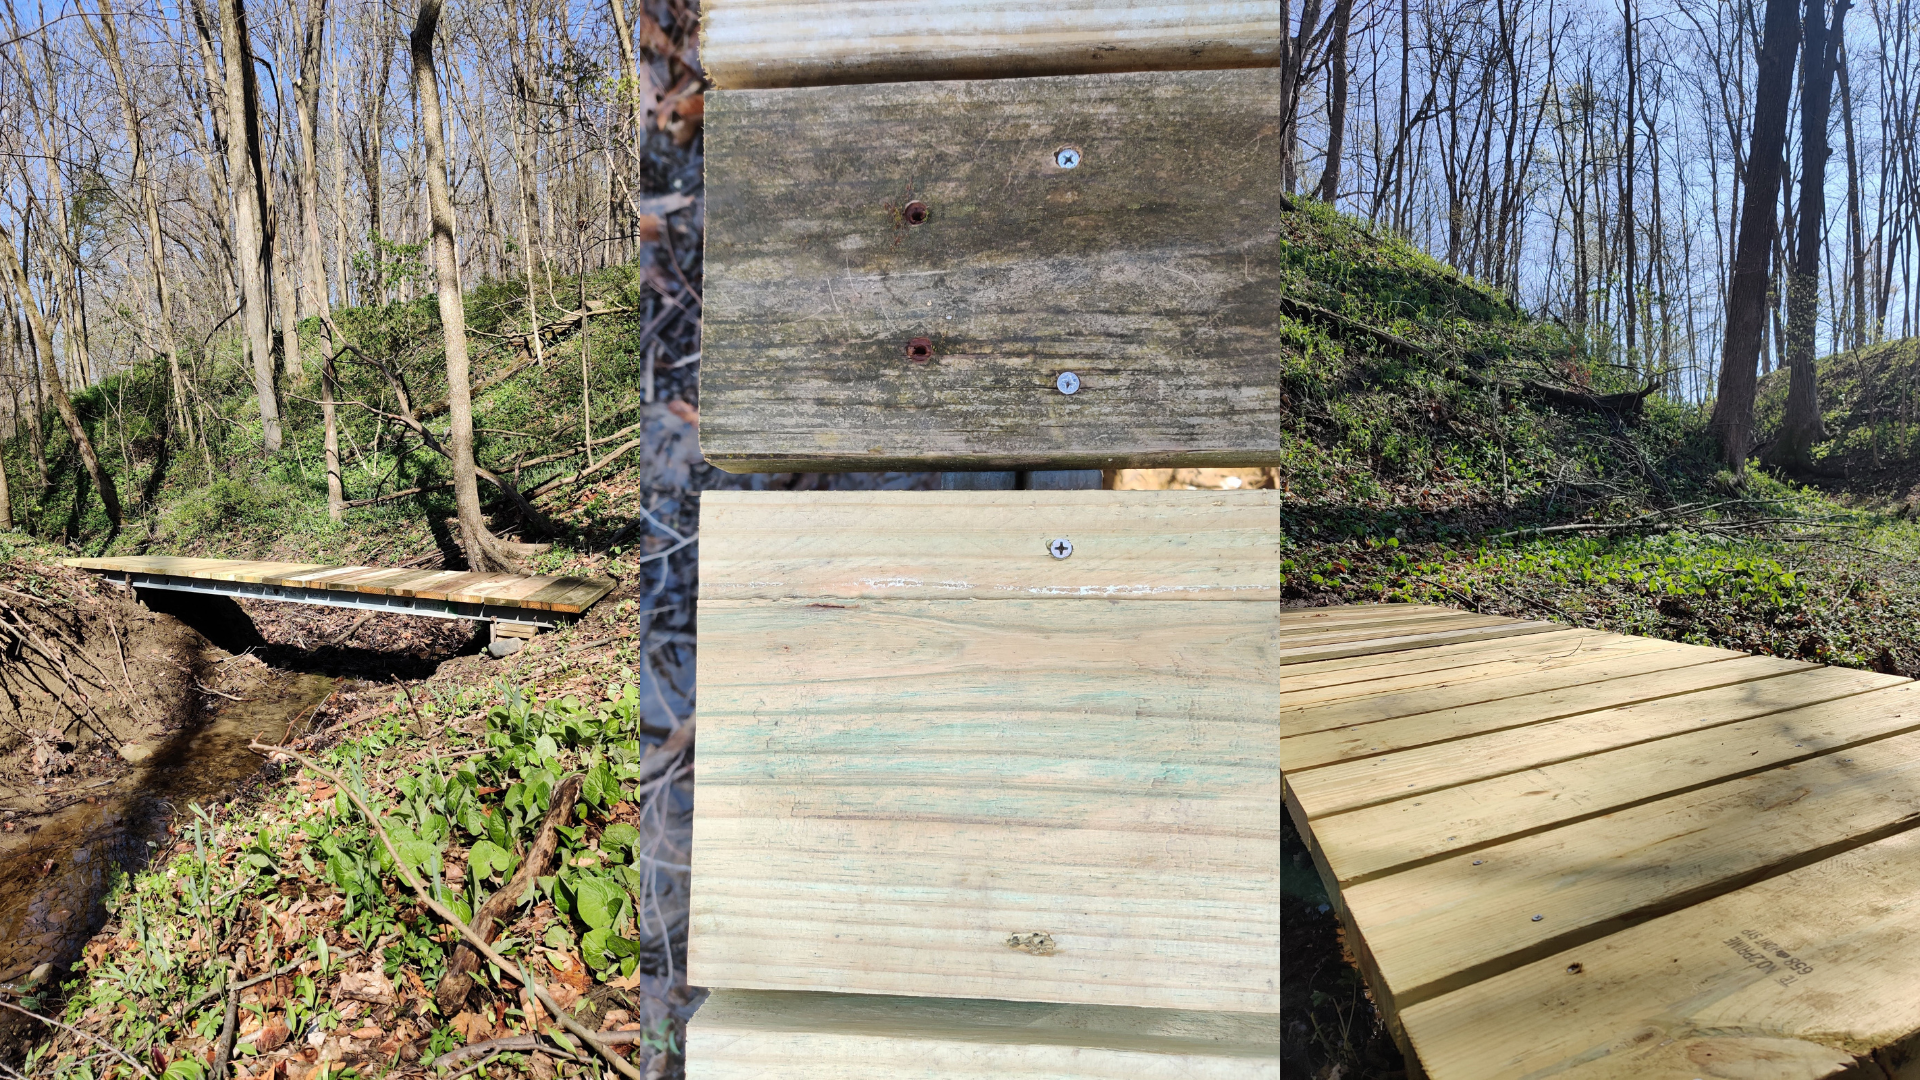
Finished Bridge
I am very satisfied with how the bridge turned out. It is very sturdy and will hopefully last a long time. I got to learn a decent amount about working with metal during this build and I hope to use these skills more in future projects.
Thank you for reading!