
For some background, I graduated in the Fall of 2019. I was a founding member of Delta Sigma Phi, Eta Upsilon chapter. Since I have graduated they have gone on to win the president's cup which is the highest award a fraternity could receive from the college. That all being said, I wanted to make a small gift for them to congratulate them.
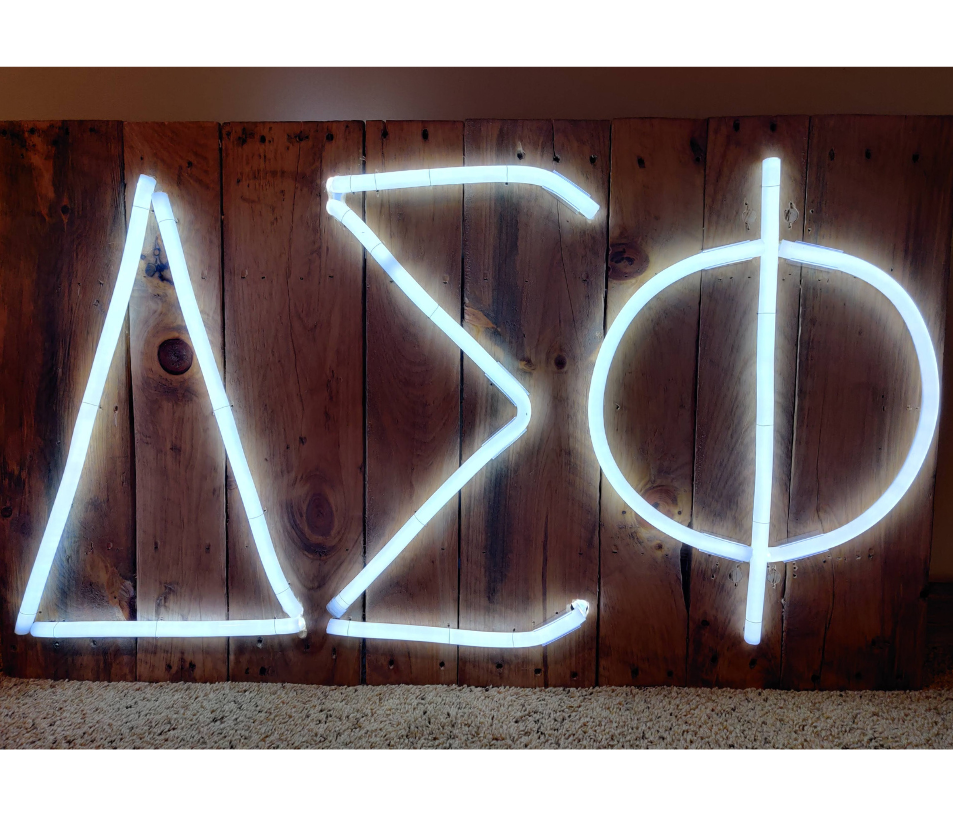
I have always had this fascination with neon signs however I have never had the tools or abilities to make one. To start this project I ordered the faux neon sign material, 20 gauge copper wire, wire crimps, and gathered a pallet from a construction site.
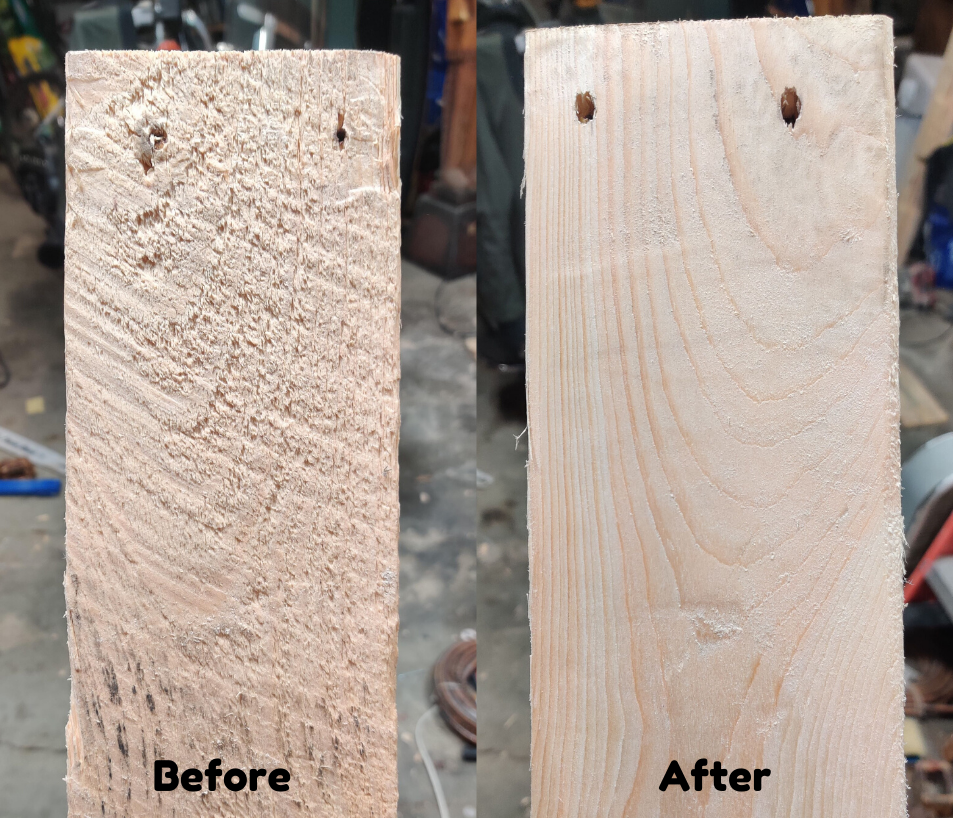
I needed something to mount the faux neon material to so I started this project with a little woodworking. I broke down the pallet I had gotten from a construction site and cut the planks into 2-foot segments. I continued by sanding each section to get a nice smooth finish.
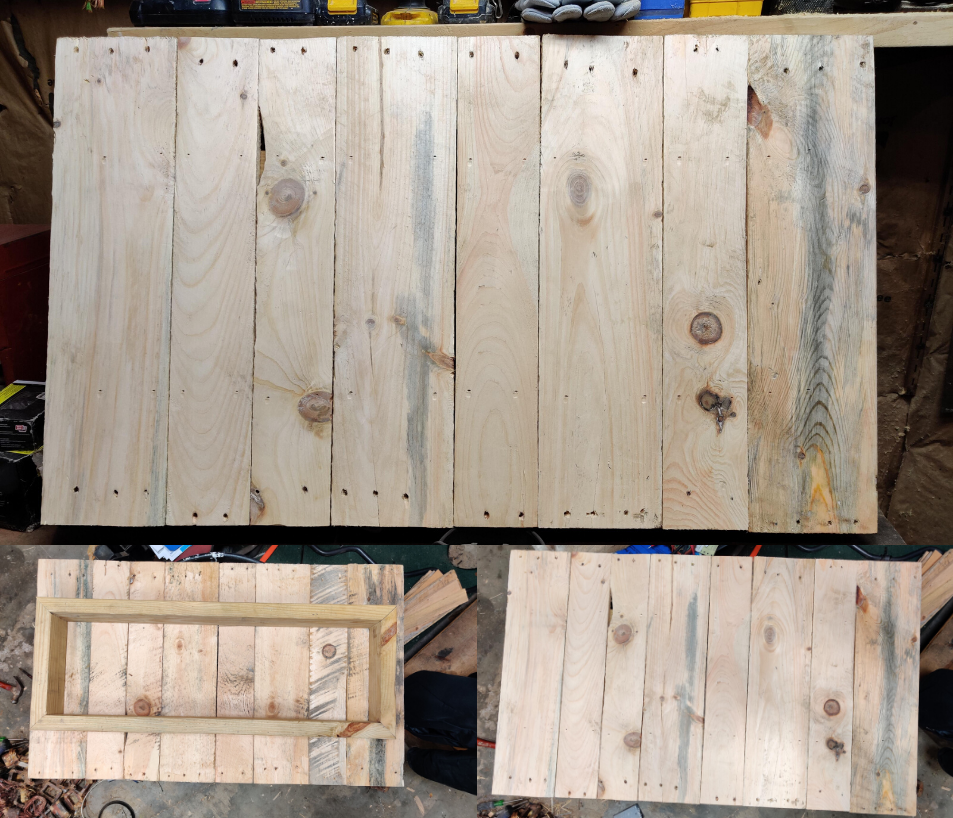
Once I had finished sanding these front-facing planks, I made a box on the back out of a 2 by 4. This box is what all of the electronics will be mounted in as well as what the planks will be attached to. After this box frame was finished, I attached all of the planks to the front of it.
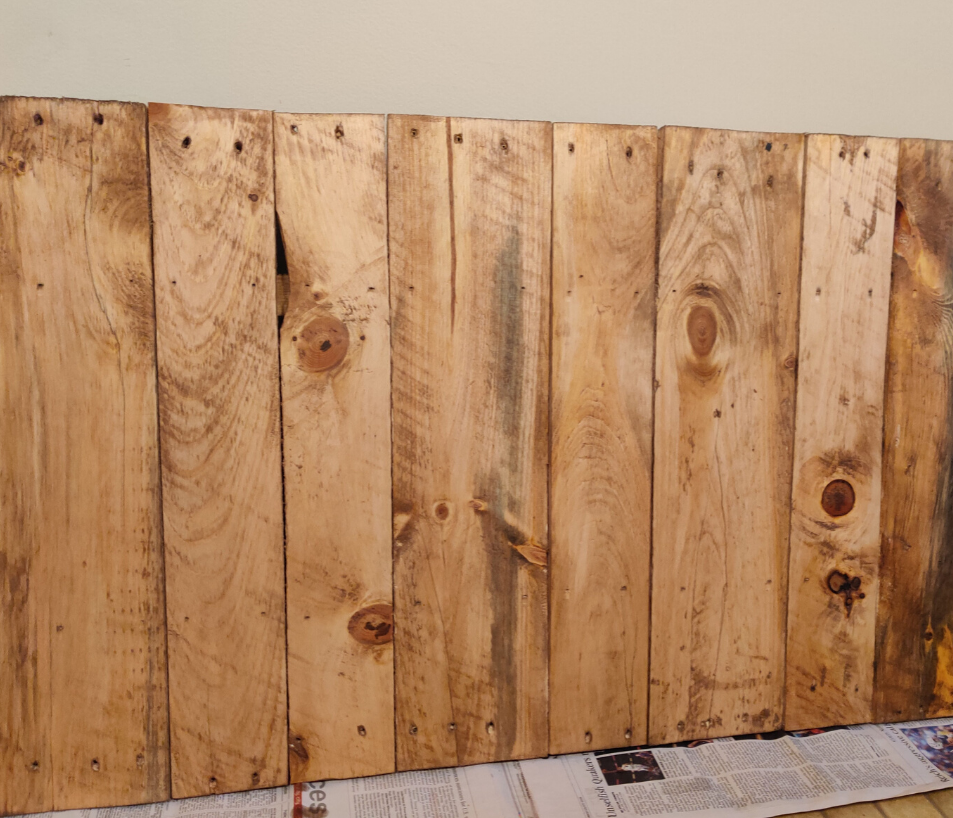
Once the back was fully assembled, I stained the front boards and painted the back black. This resulted in a nice finish that will be easy to hide the electronics later.
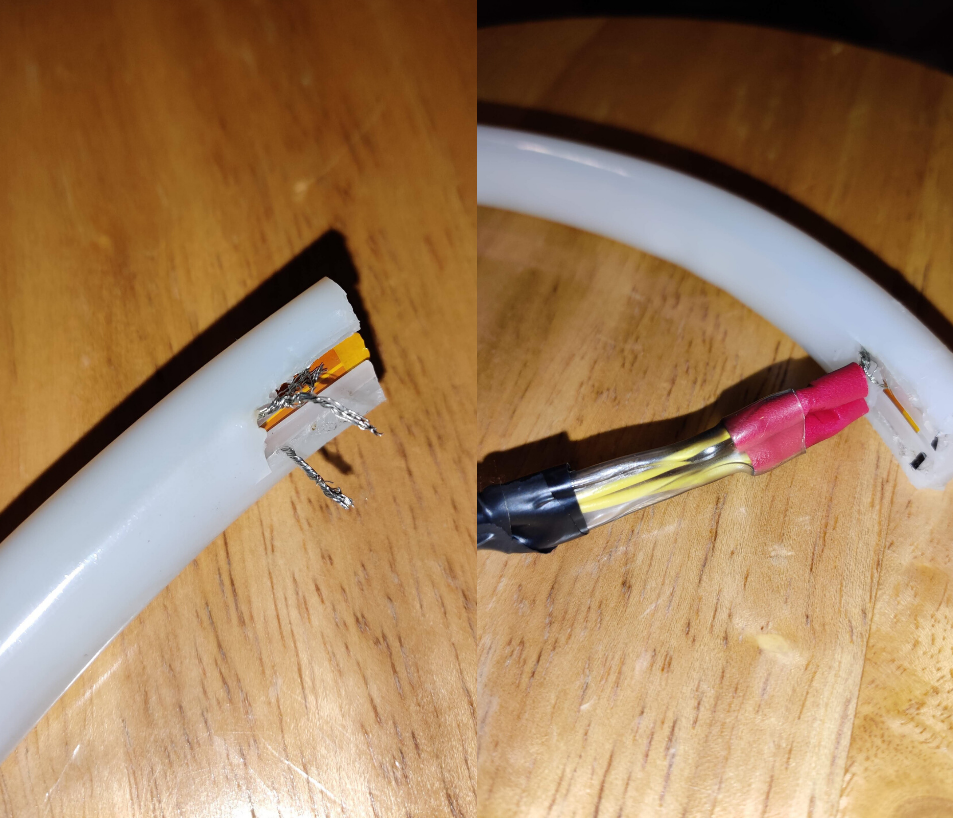
It wasn't until recently that I hear of this faux neon sign material. This material is made up of a standard LED strip light inside of a silicon sleeve that acts as a diffuser. Since this material is made up of a standard LED strip, it can be cut into different segments and be soldered onto. That being said, I did not know that the wires ran inside the light were multi-core aluminum wire. This is not bad in itself but, when it comes to soldering onto aluminum, it becomes very difficult. To remedy this, I used 20 gauge wire crimps. Wire crimps are just rubber sleeves with a conductive metal inside that you stick a wire into. When you smash or crimp these, it will create a friction fit between the 2 wires inside the sleeve thus, completing the circuit. These helped a lot when using standard 20 gauge copper wire to connect the lights.
From this point on, the project became very tedious. Each section of the lights had to be measured and cut to length. After they were cut, they had to be laid out on the finished backing. One the layout was done, holes had to be drilled through the backing to run the wires. Then to hold the lights to the backing, small holes were drilled on each side of the light and thin florist wire was twisted into place on the back.
Sometime during this process, one of the lighting sections got damaged. I am still unsure how this happened. I dissected the light and found all the solder points were intact and they were receiving power. Thankfully, I was able to get ahold of the manufacturer to troubleshoot this. They eventually ended up sending me an entirely new section of lights that worked perfectly.
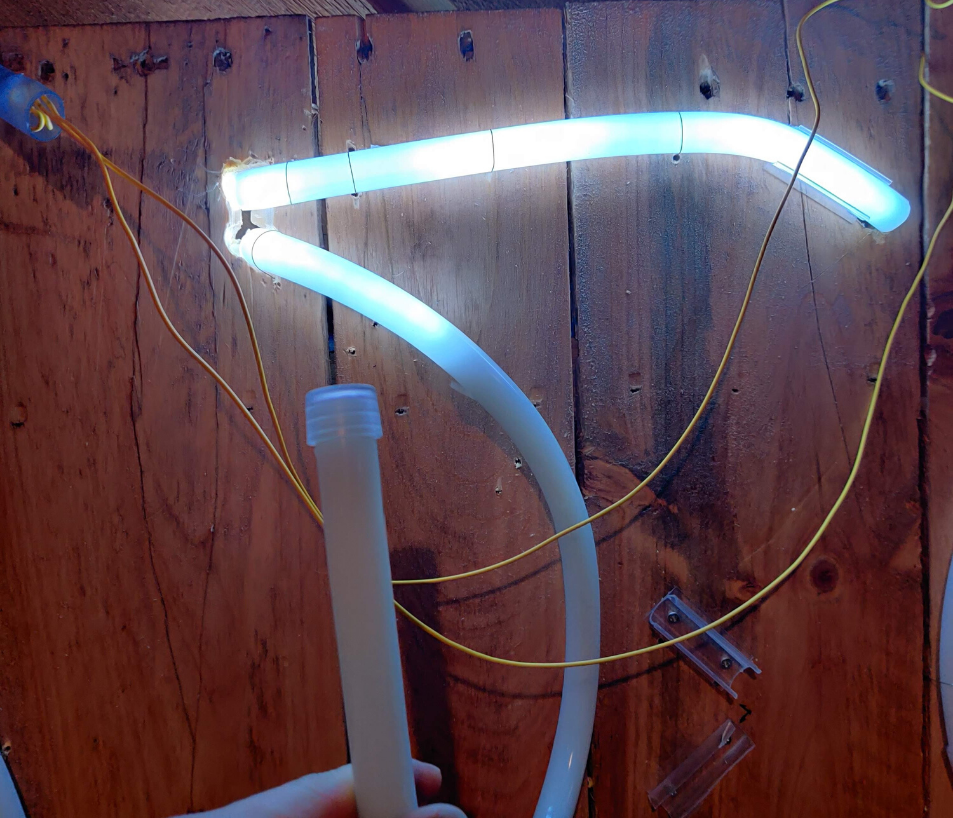
Once the new replacement light was put in, I was able to solder everything together on the back. The wire management could have been done much better however, I was a bit too excited to see it all lit up. Once all the wires were soldered together and secured to the back, the power supply was able to be added. The power supply was crimped to the main circuit and it all finally lit up.

I was pretty happy with the results, especially for only paying around $60 total for a 2 foot by 3 foot 'neon' sign. If I ever did a project like this again, I would use a different type of light that could be cut in smaller sections. I also think that the use of some aluminum or plastic channeling to hold the lights would add a nice finishing touch. I would highly recommend getting out there and do a project like this, one that gets you out of your comfort zone.
Thank you for reading!