I've always had a love for the fantasy genre. It has always been a sort of escape for my brain, I guess. On top of that, I've always enjoyed creating things, whether it was making rudimentary electronics when I was in elementary school to making 3D environments. This is what I believe led to my fascination with Dwarves. I absolutely loved the concept of dwarves, tiny men, and women that created marvelous structures with precision engineering that was way ahead of its time. The portrayal of them in movies and video games made me even more hooked on the idea of them.
For this month, I enrolled in an online class to help teach me advanced character modeling and design. This course focused on creating a dwarf warrior. That being said, I greatly overestimated how much I would be able to achieve. I plan to break this project into 2 months. The course I enrolled in specifically showed how to take concept art, to begin with, and create a high-poly sculpt of it. This high-poly sculpt is usually used as a 3D concept, a visualization of what the character will actually look like when it's finished. The sculpt is actually not able to be used for the final character since it has so many vertices. With this many vertices, it would take ages for a standard computer to render it.
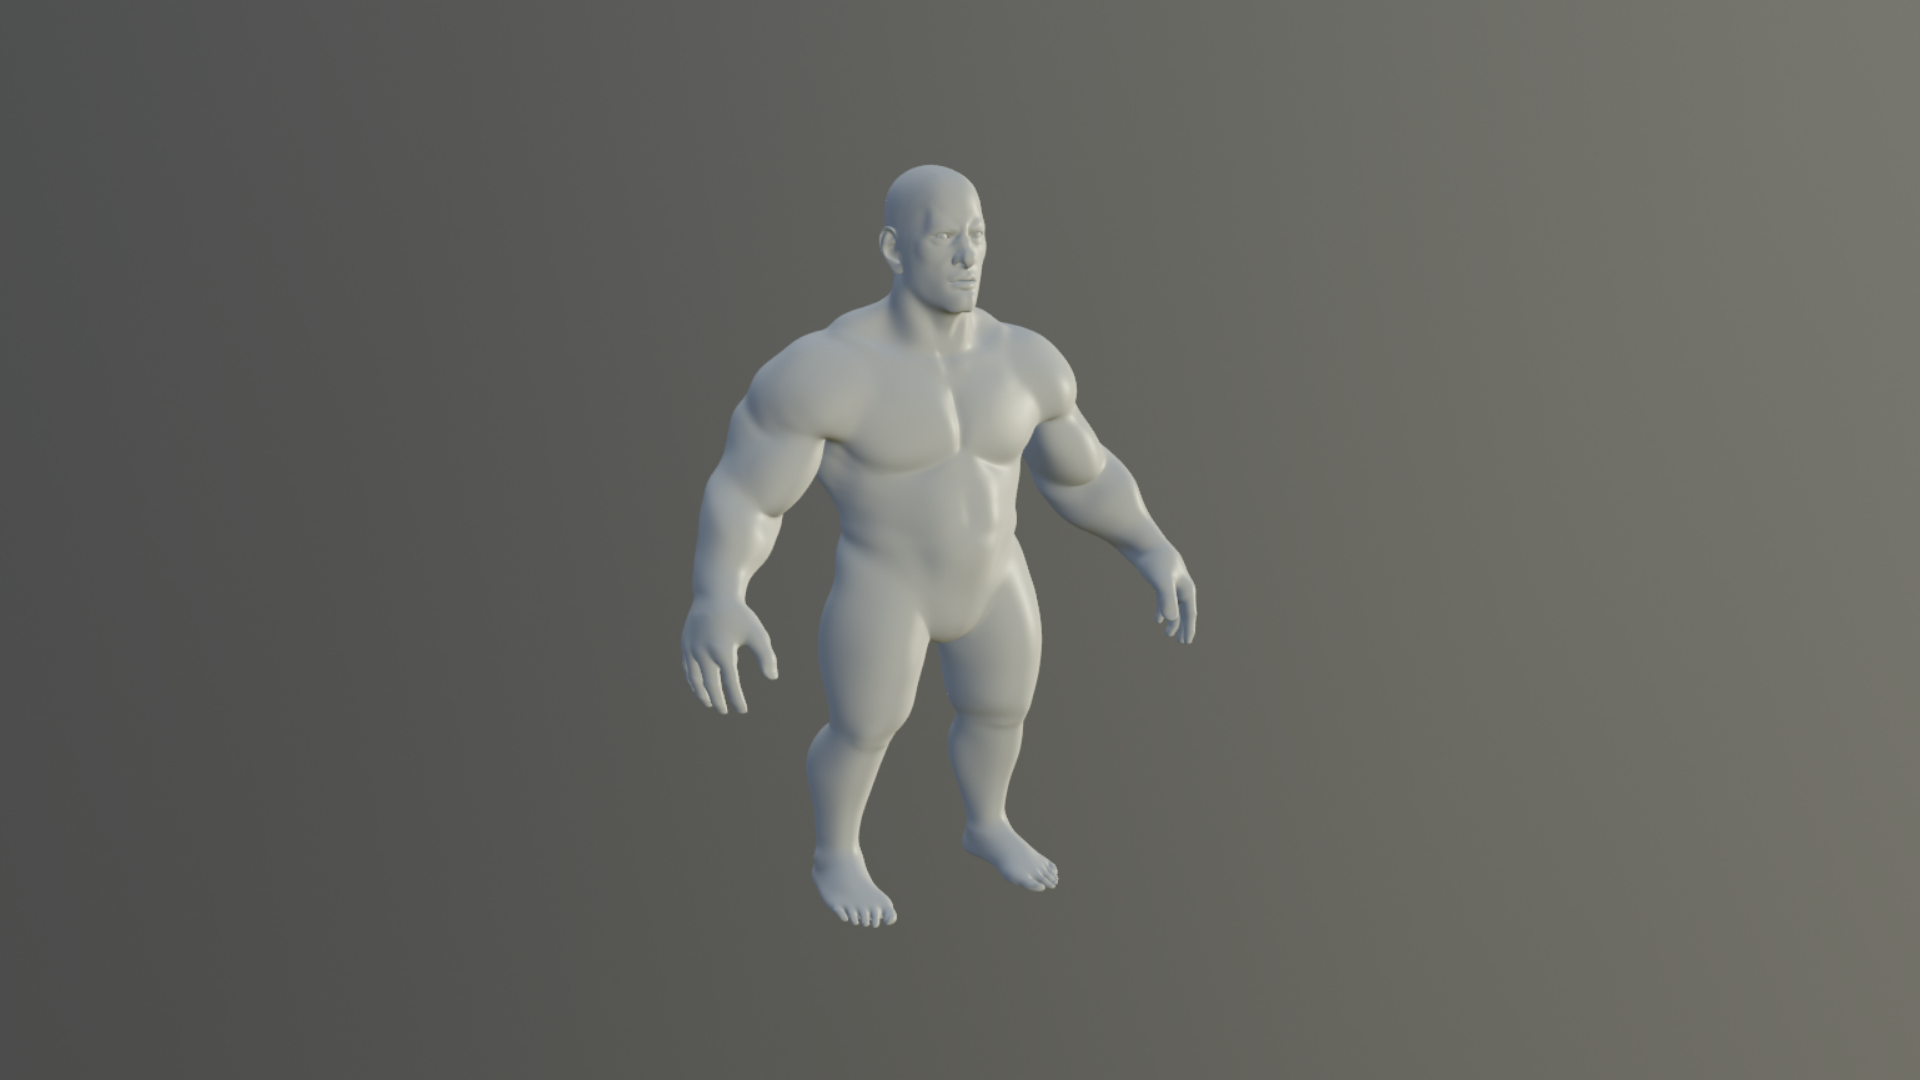
Base Character
The sculpt begins with a base character. I used a 6 foot, base male character then pulled and squished him down to around three feet or so. From this, I was able to adjust his proportions to match his dwarf size. This included beefing up his back, arms, and upper body in general since this character is a warrior. Additionally, his legs had to be adjusted greatly to look strong yet stalky.
Once the proportions are all set, the actual layers of armor and cloth can be created. I used what is called masking to do this. Masking allows you to draw onto the base character, or any model, then have the ability to extrude the drawn area. This means I could draw the outline of a shirt, extrude it and separate it from the base character, then add additional details. After doing this for quite some time I got the following results.
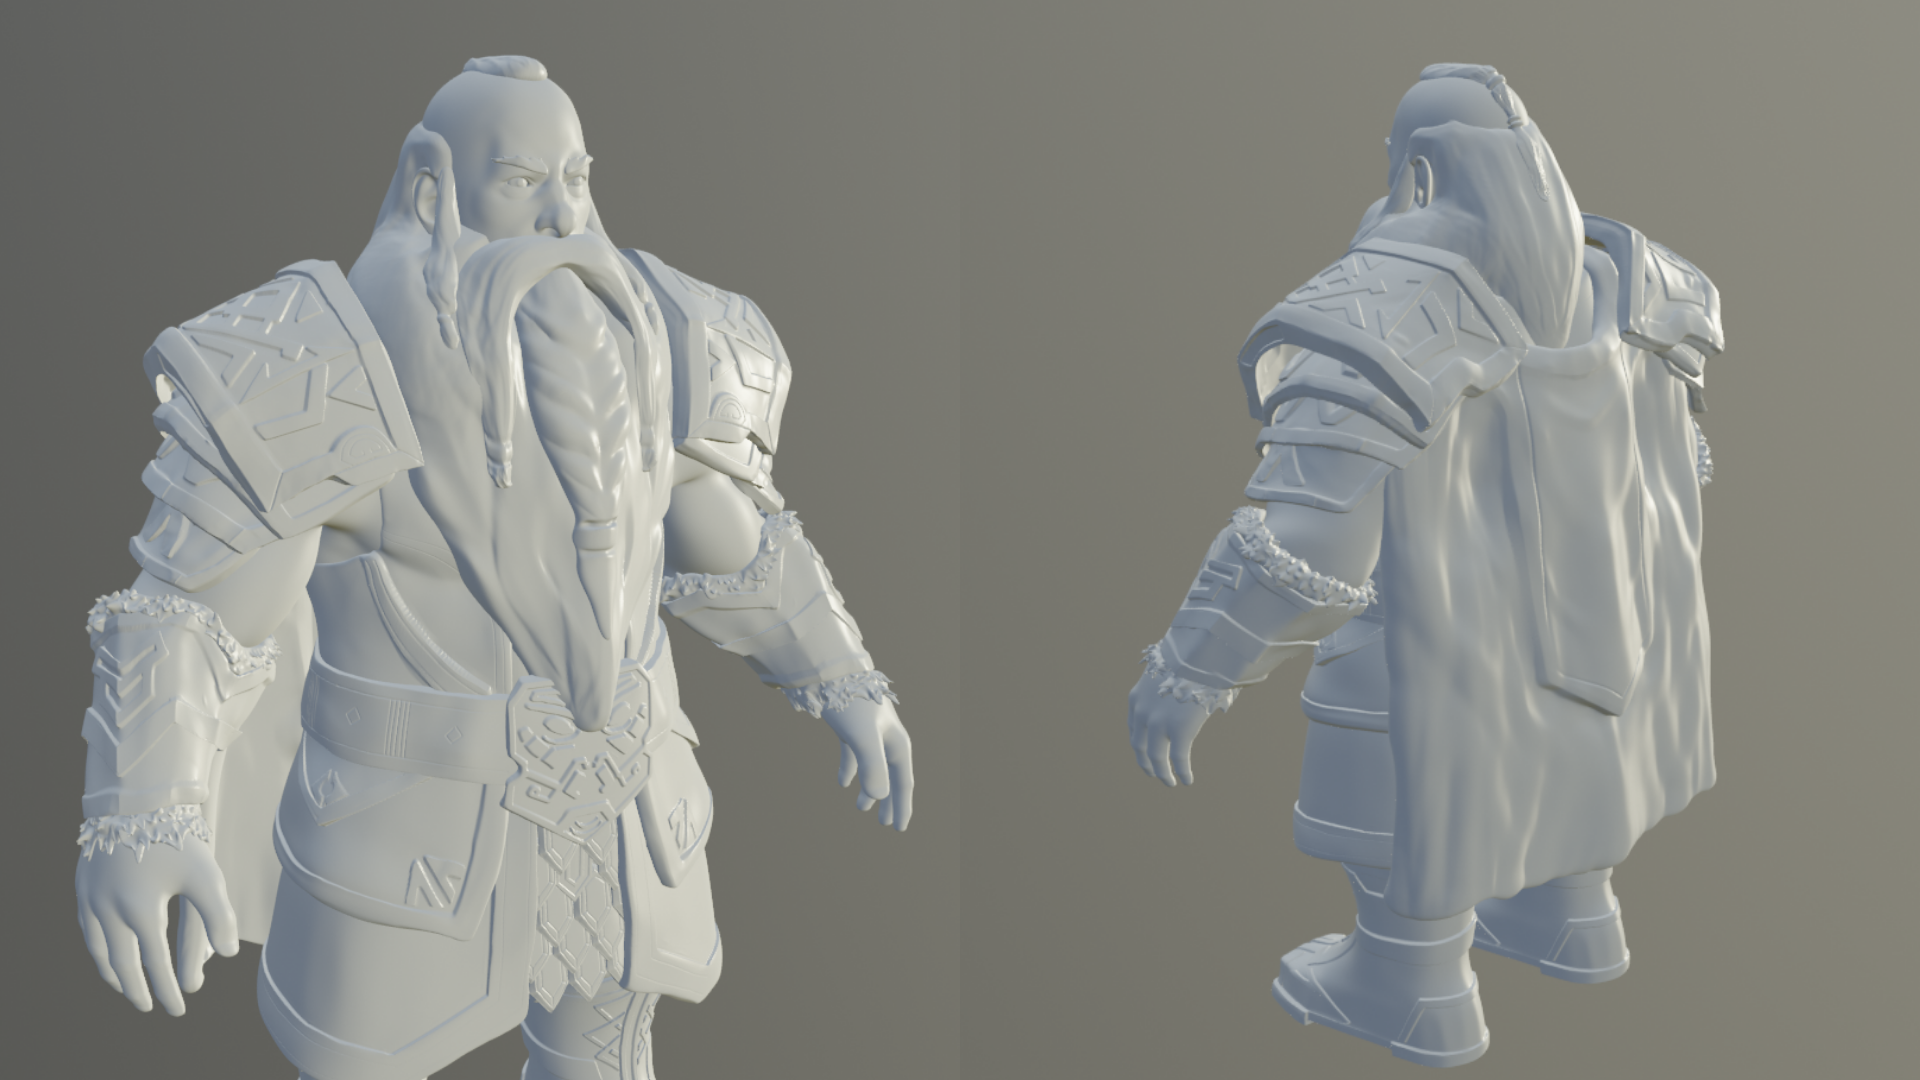
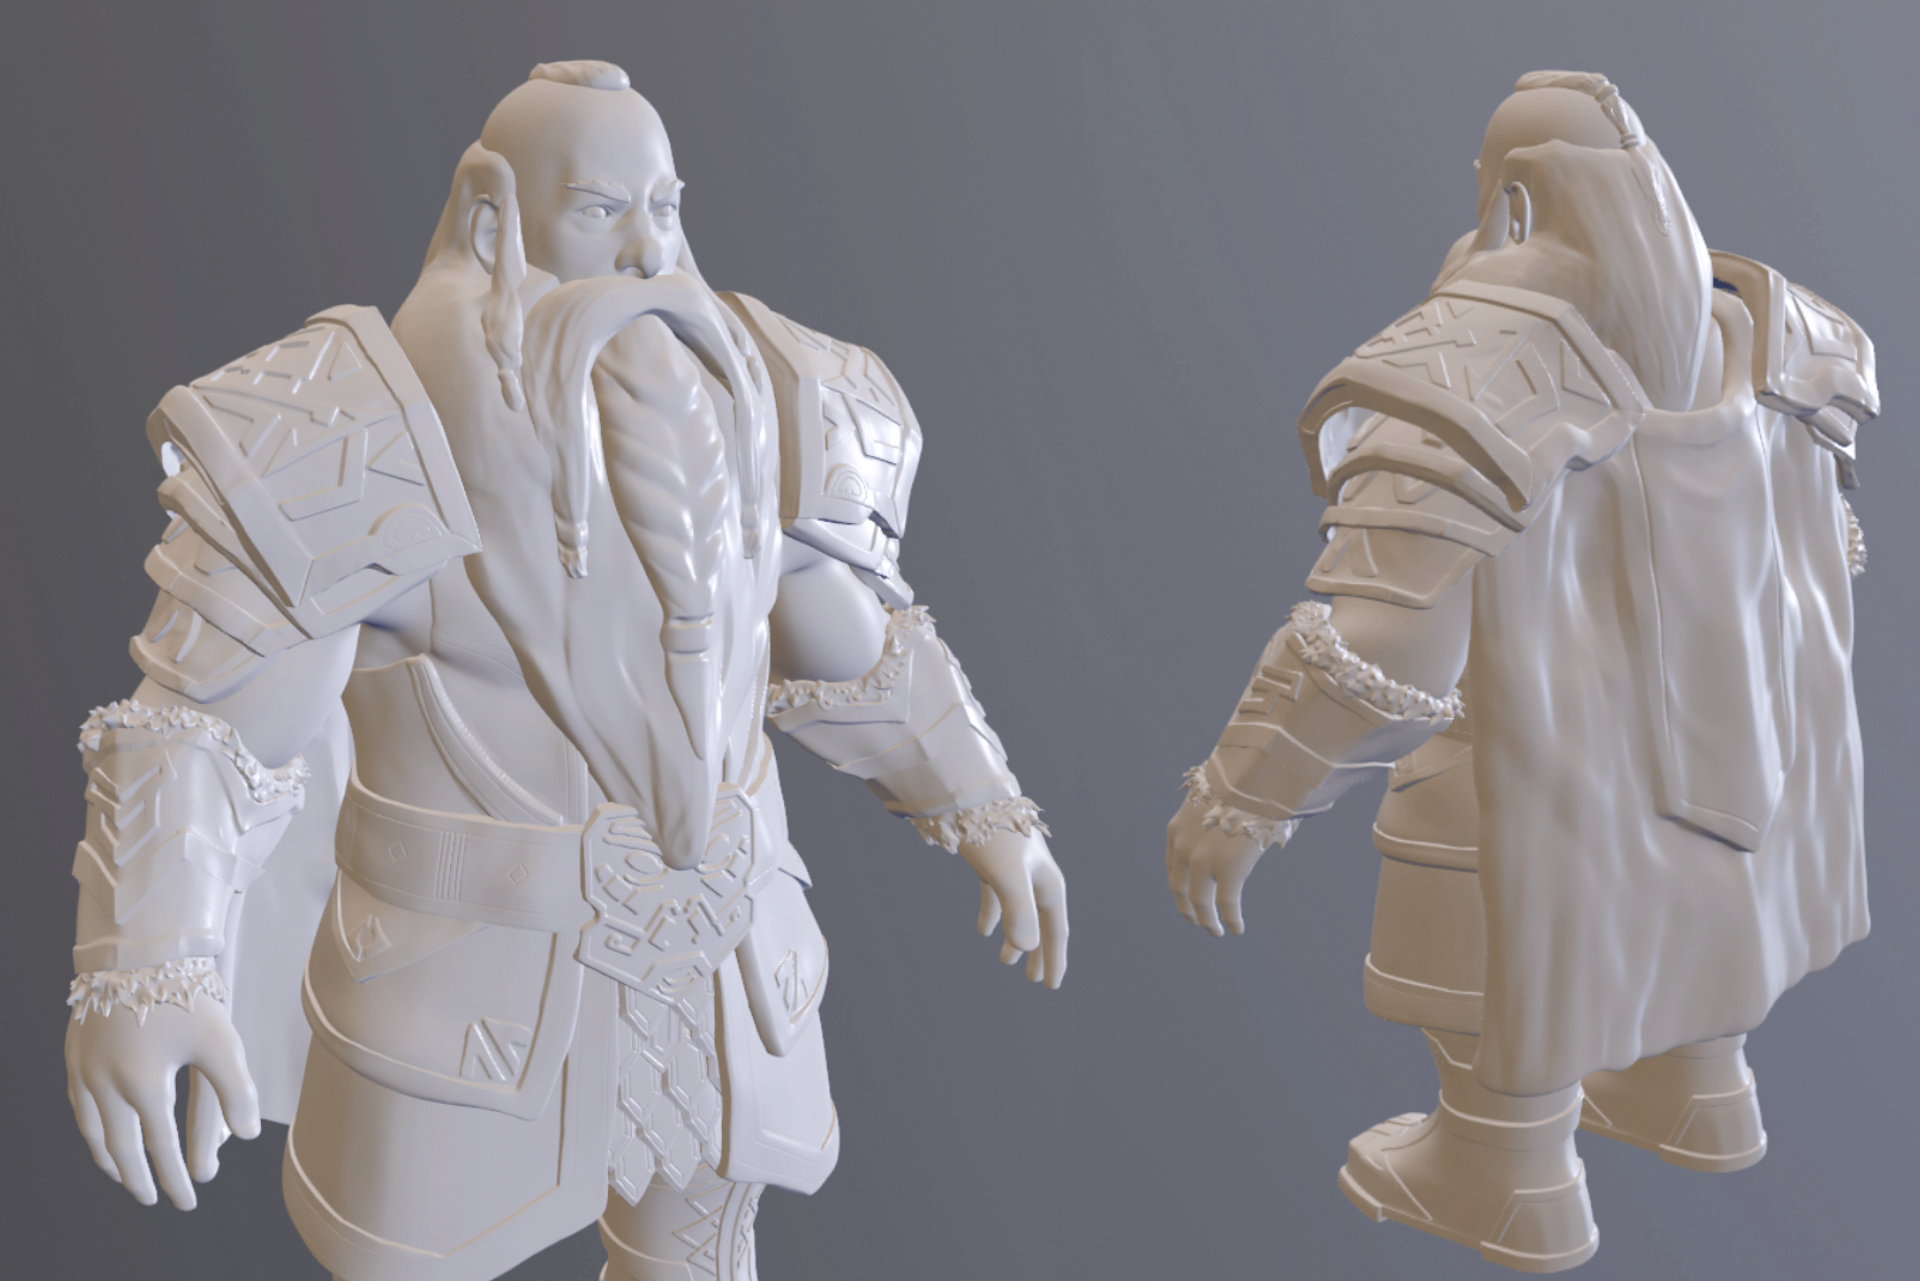
Final Sculpt
Now that the sculpt is done and I am happy with it, I can continue with creating the retopology. This is when I have to manually go and layout individual vertices over the sculpt. This makes a low-poly shell over the sculpt and is known as retopology. The retopology is probably the most mind-numbing process which took around 30 hours to finally complete. This took so long since every raised bit of the sculpt, such as a decoration on the armor or embroider on the shirt, needed to have its own object drawn on top of it.
Left Boot is after Retopology & Right Boot is the sculpt
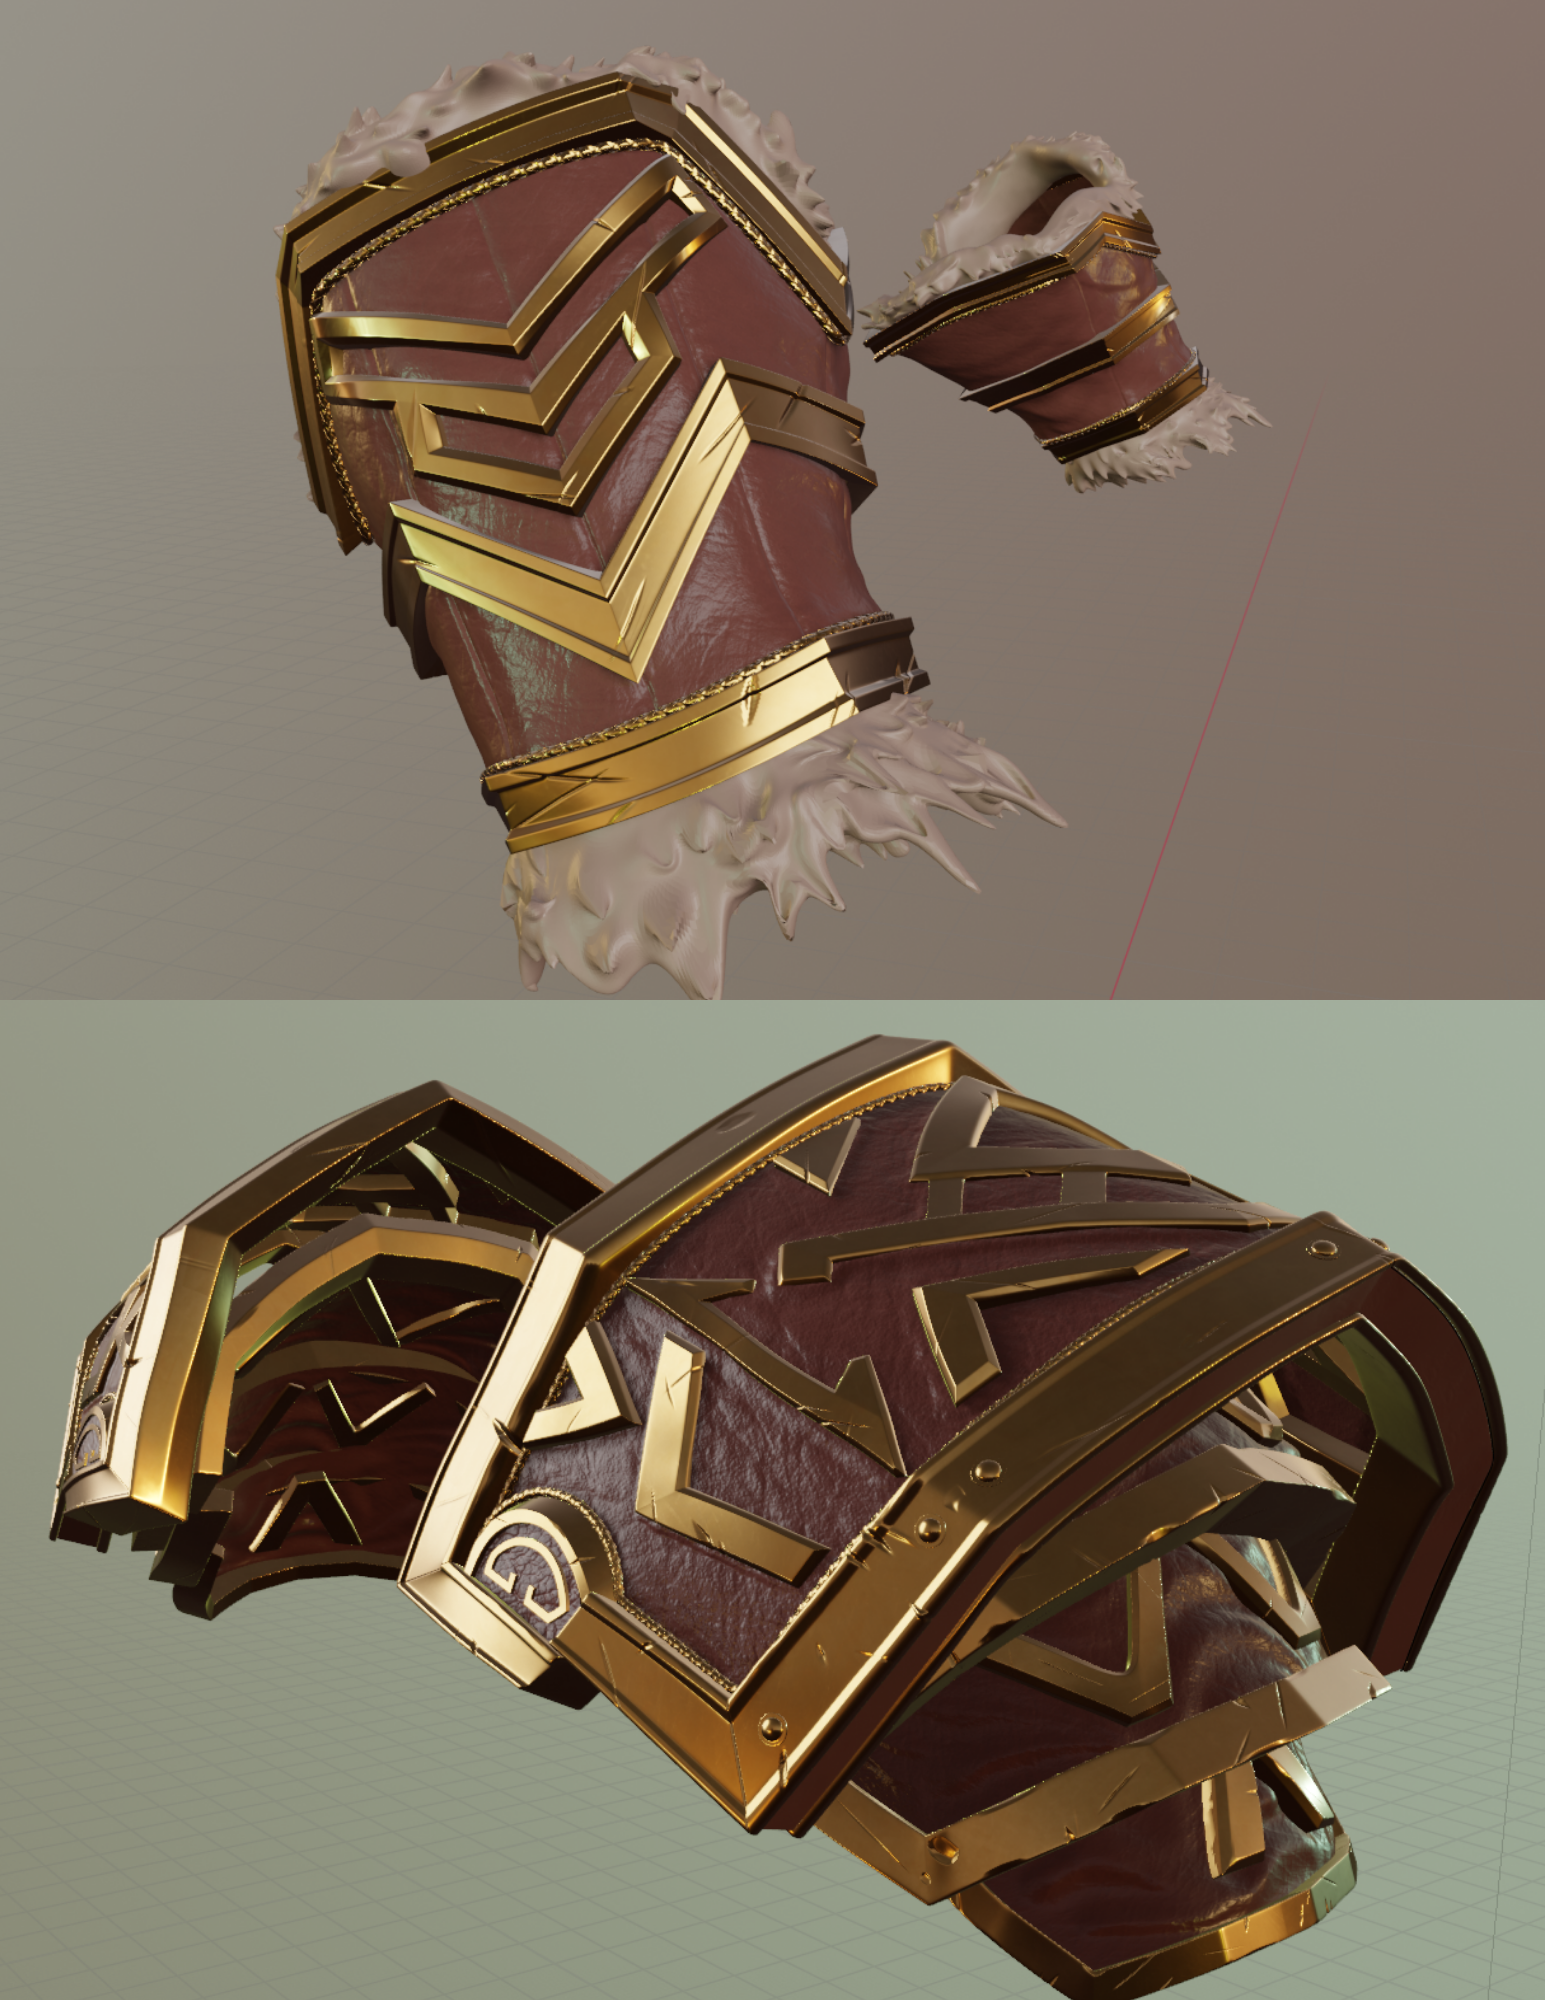
Once the retopology has been finished, I can now proceed with the detailed sculpting. This is where all of the fine details are added such as scratches in the metal and imperfections in the leather. I found it very easy to become lost in a flow-state while doing this process. It was very fun to see all of the hours spent during the retopology phase finally pay off as the detail began to finally show.
I was able to add different adornments to the armor that made it look like it was created by true masters of the craft. One of these adornments was a quad-helix brass chain that wrapped around the interior edge of the pauldrons and the vambraces. This gave me the exact look I was going for. Below is a rough render I made of the armor after the detail has been added. I used open-source materials to show the brass and leather. These were only added to help me visualize what the armor would look like and I am very satisfied with it so far.
Final High-Poly Sculpt
Just from these beginning processes, I have gathered a whole new level of respect for 3D modelers and animators. I am a bit bummed I wasn't able to get further on this project but, with my wedding coming up next month I have some different priorities at the moment.
Thank you for reading!